Been a while since I added anything (cobbler’s children syndrome, y’know), but I had a fellow woodturner, Jeff Logan, come visit a few weeks ago, and a text message from him, today, reminded me there was something I needed to add to the site. I showed him the method I now use, much of the time, for rechucking items for finishing off the bottom.
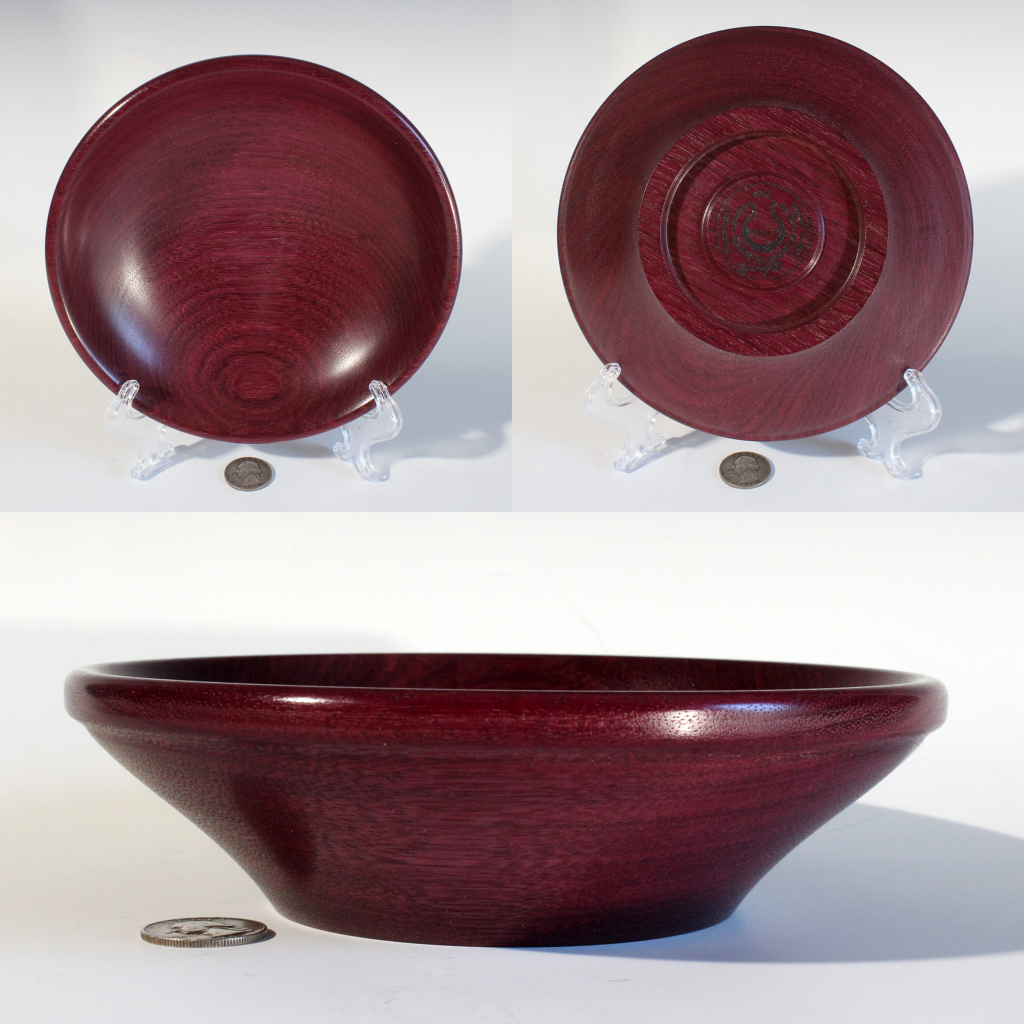
I purchased my Powermatic 4224B, as opposed to an American Beauty, because of the built-in venturi (sp?) engine for vacuum chucking bowls, to finish off the bottoms. I found the vacuum chuck to have some significant disadvantages, one of which was for bowls on which I had used an oil finish. Even after months of curing, the vacuum chuck would tend to suck some of the oil out of the wood, leaving a ring in the bottom, where the ring gasket contacted the wood.
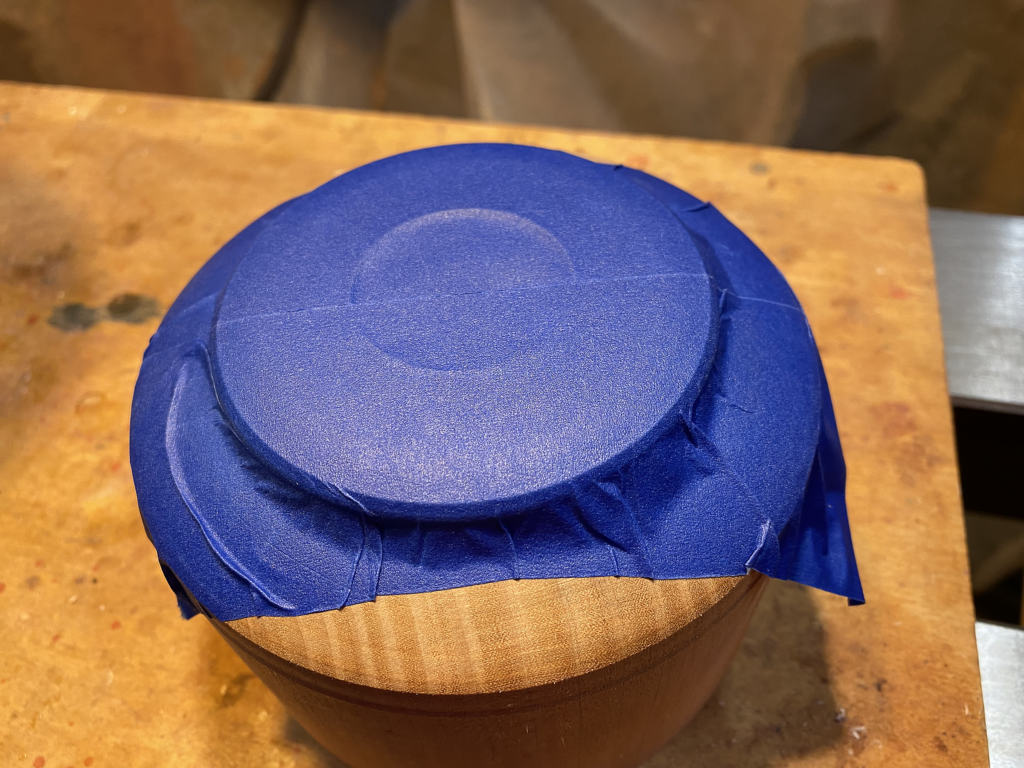
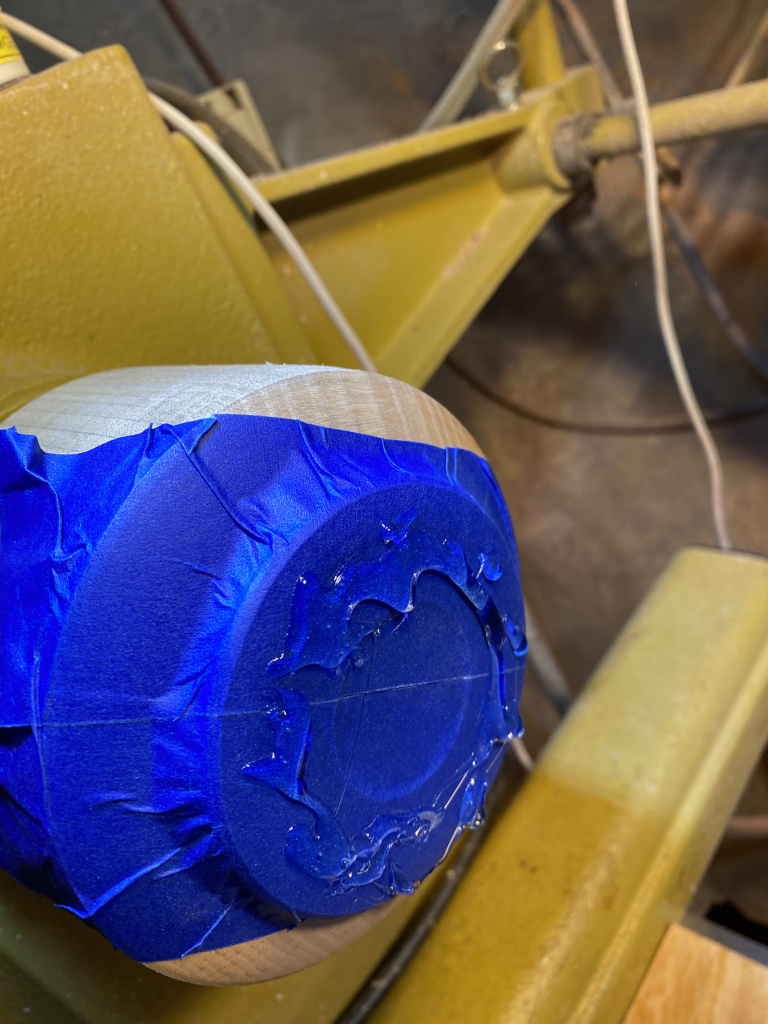
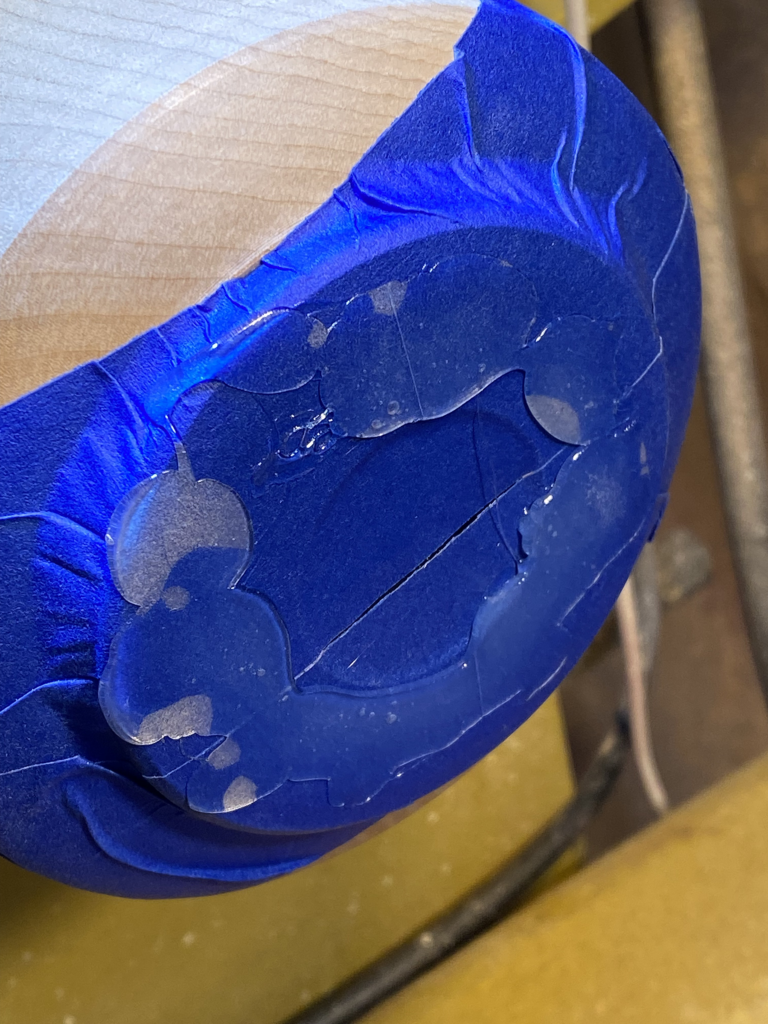
The method I now use was not of my invention. I cannot provide proper attribution as I do not remember where I initially saw it. The method is inexpensive and easy. It involves painters’ tape — yeah, the kind you use to mask off the baseboard and window casings when you’re painting a room in your house (Figure 1) — and hot-melt glue.
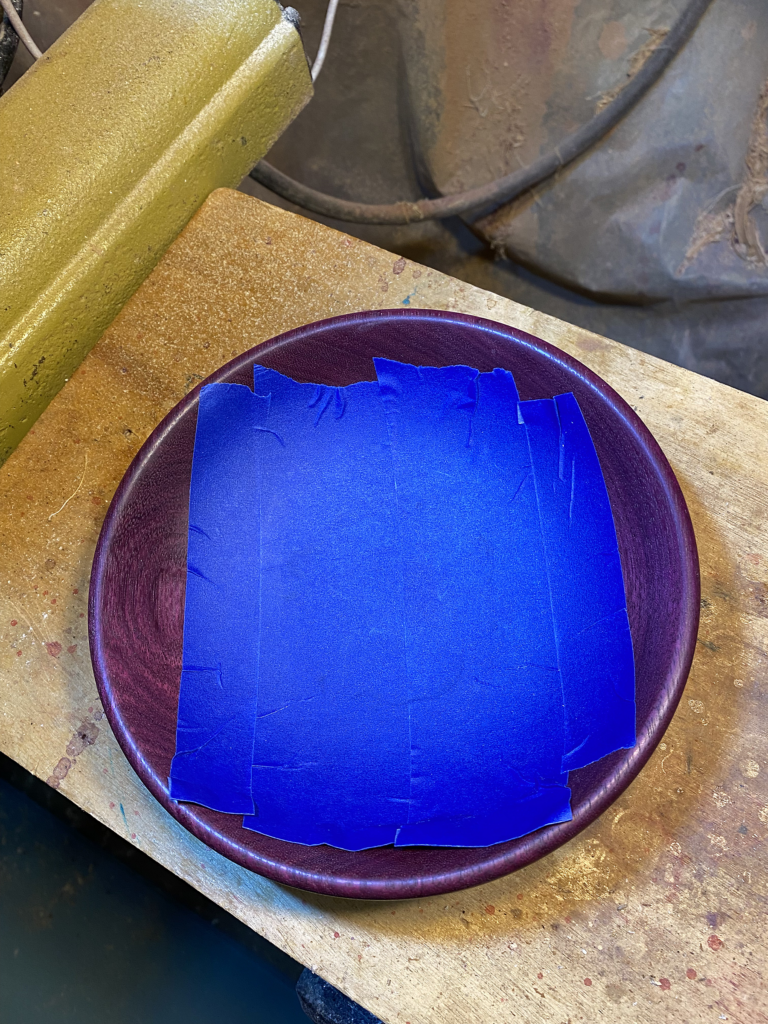
Caveat: best if NOT used with shellac or lacquer finishes as the heat from the glue tends to penetrate the tape (even double layers) and cause the finish to “ripple”. The tape sticks best if there is some sort of finish. My greatest successes have been with a well-cured Danish oil finish and simple wax finish (like EEE-Ultrashine or simply Carnuba wax). It is possible to get the tape to stick to unfinished, more dense woods, such as cherry, varieties of locust, cocobolo, etc — woods that can be made to shine with 400 grit or just off the tool — but serious burnishing of the tape is recommended. It is also best to avoid overlaps, though the hot-melt glue tends to adapt to gaps. The main thing is to avoid any possibility of the glue sticking directly to the wood in the bottom of the bowl. Depending on the curvature, use wider or narrower tape, as needed — narrower tape can be “bent” more easily, to accommodate the bowl’s shape.
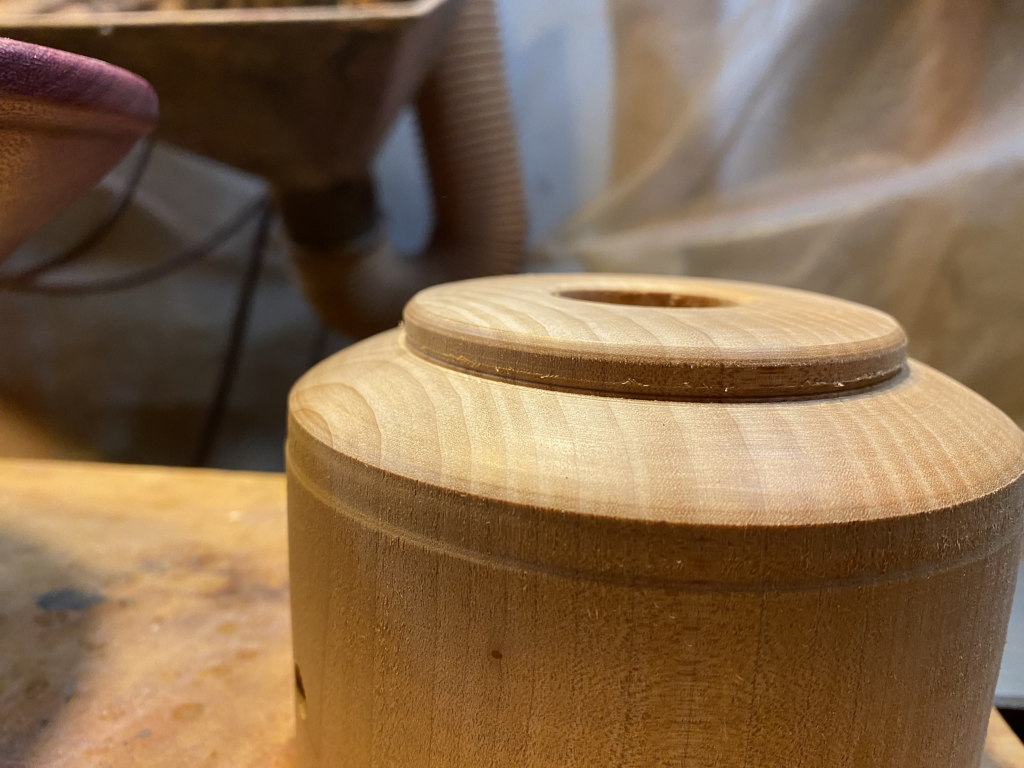
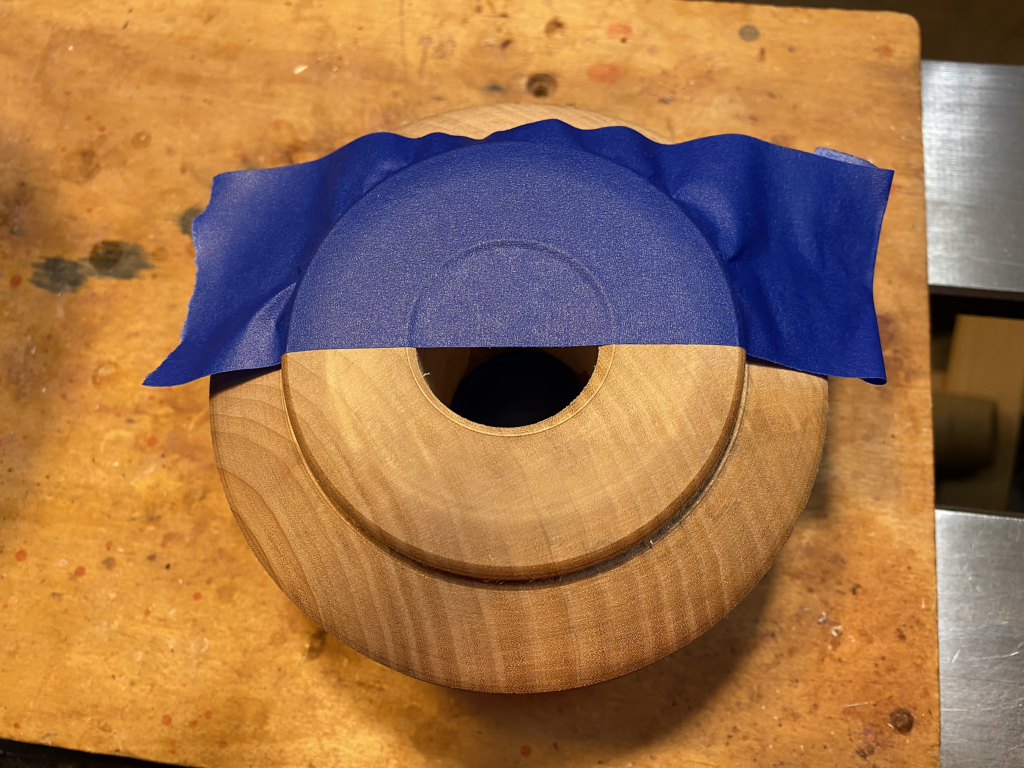
Make a waste block, with a tenon or mortise, the mounting method of your choice (this one has an epoxied 1-1/4″ nut for threading directly onto the headstock spindle). Create a face with a contour that reasonably closely approximates the curvature of the inside bottom of the bowl (Figure 2). Again, slight imperfections will tend to fill with the hot glue so precision is not too much of a concern. Here, this waste block even has a hole in the middle — this ensures that it doesn’t “rock” in the bottom of the bowl, i.e., no “high” points. No need to apply hotglue to the tape that covers the hole, and doing so will just rip the tape off when the bowl is removed from the wasteblock.
Strictly speaking, it is not necessary to apply tape to the wasteblock, as you can always turn any hotglue away when finished, or when you’re preparing it with the appropriate curvature for the next bowl’s bottom. But I like preserving my wasteblocks when I can. It is possible to overdo it with the hotglue, and have too much in contact with the bowl bottom, such that it’s difficult to remove the bowl from the wasteblock when the tenon or mortise has been cleaned up.
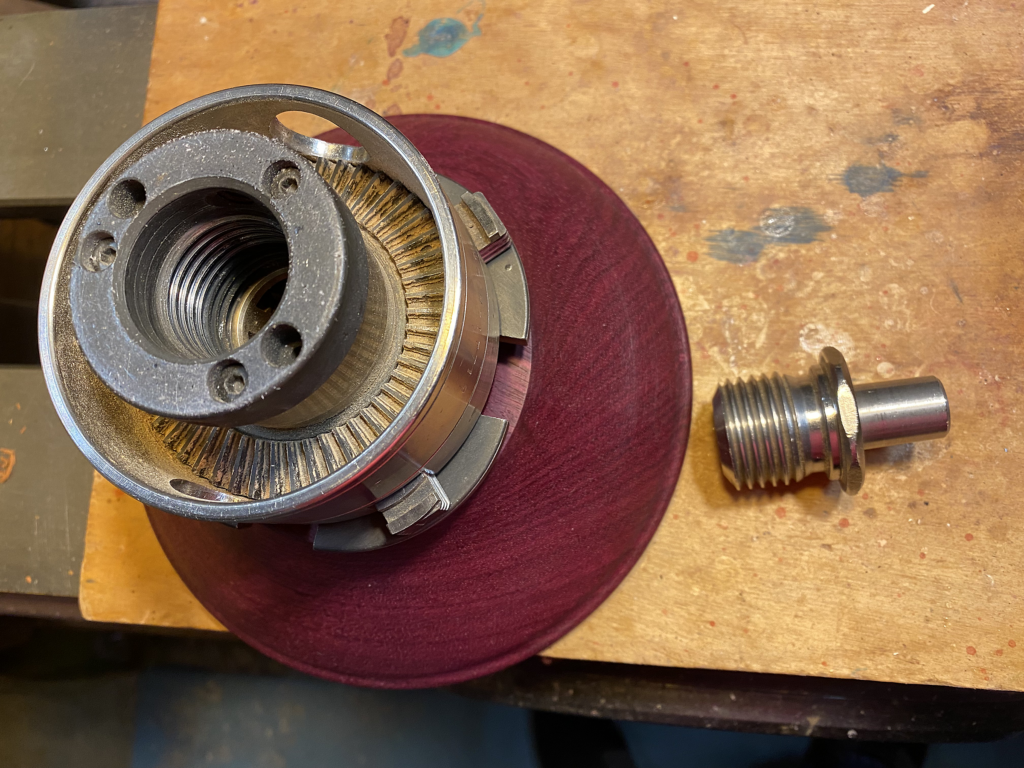
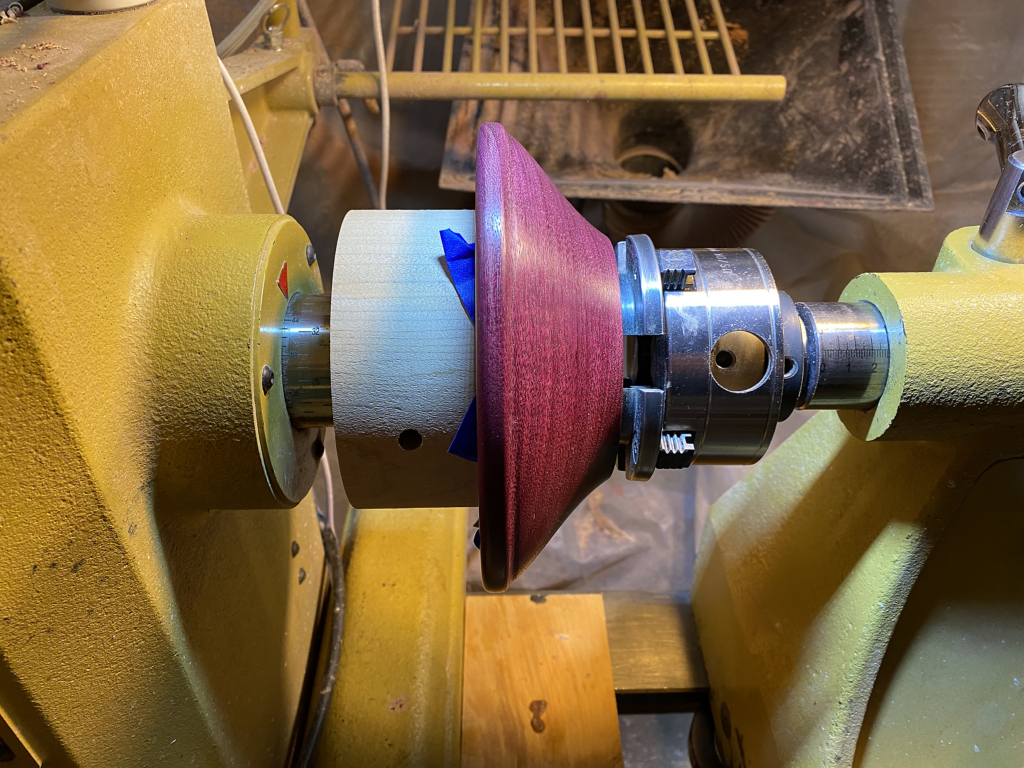
With the bowl still in the chuck (or remounted in the chuck), I use a 1-1/4″ x 8tpi morse taper adapter (Figure 5) to provide the ability to mount the chucked bowl on the tailstock, which provides accurate centering on the wasteblock. There is a type of morse taper adapter that also serves as a live center, but I have only found them in 1″ x 8tpi size. And though I have a “step-down” adapter, female 1-1/4″ x 8 to 1″ x 8, the more adapters involved, the more there is a likelihood of misalignment, so I only use the live version when using a chuck that is 1″ x 8. The advantage to using the revolving adapter is that it is less cumbersome separating the bowl from the tailstock, by simply unscrewing the adapter from the chuck while gradually backing out the tailstock quill, leaving the separation of the chuck from the bowl until last.
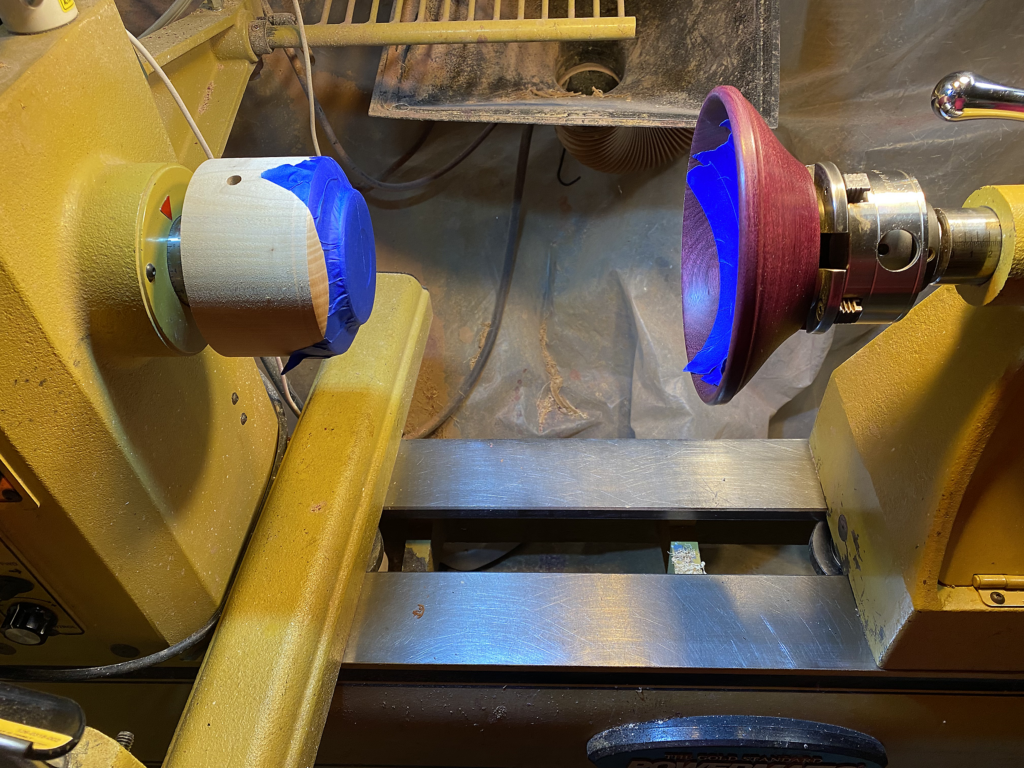
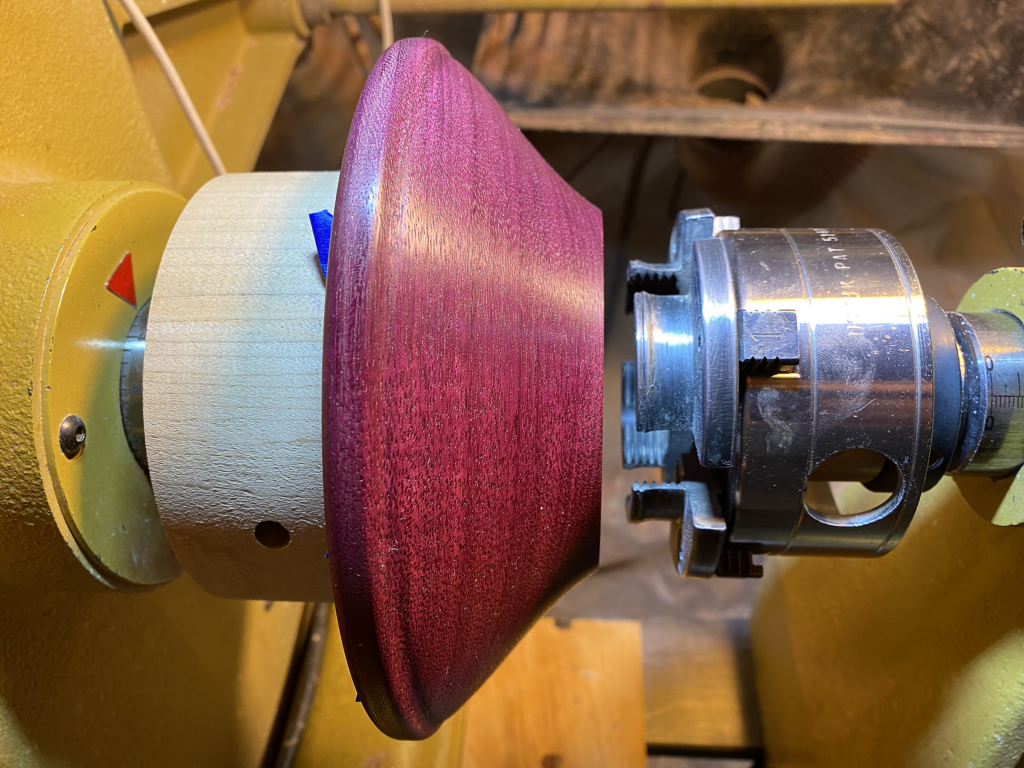
Then, with the tape-covered waste-block on the headstock and the bowl, still “en-chucked” and in the tailstock, move the tailstock up so that you have just enough room to wield the glue-gun (Figure 6), because you have to be quick in sliding the tail stock in against the hot glue. Then, grab the glue gun and — oh drat! Forgot to plug it in. Plug in the glue gun and take a break. It’s pretty important, in order to get the best adhesion out of the hot-melt glue, that you allow the gun to get to full heat, such that the glue is pretty runny. Don’t rush it, and make sure you have a plenty long stick in the gun, or have a spare ready so that there’s no significant time lag between applying glue and bringing up the tail stock.
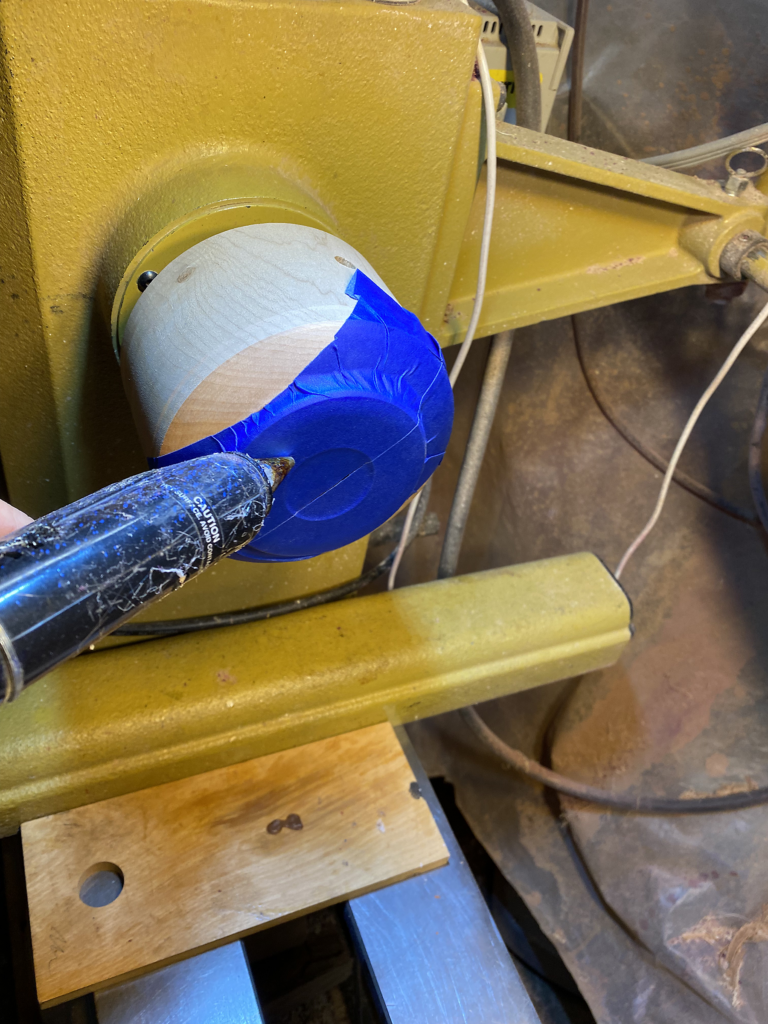
Apply the glue with one hand while slowly turning the spindle (Figure 7), to keep the glue from running too far and apply a ring of glue to the tape on the wasteblock (Figure 8). Concentrate on applying it more toward the outer edge of the matching face, as that gives the glue better resistance to torque. It is actually quite resistant to twisting off. Note that this method, while quite effective for cleaning up the bottom of a bowl, is not recommended for returning to work on the sides or rim, as those put prying pressure on the glue bond, which might result in “unplanned disassembly”.
While the glue is hot, slam the tail stock in and tweak the quill to cinch it up tight (Figure 9), and then wait — 10 minutes is typically more than enough unless you have the heat cranked or live in some hot climate. Then, slowly loosen the chuck while winding out the quill to separate the chuck from the tenon/mortise (Figure 10).
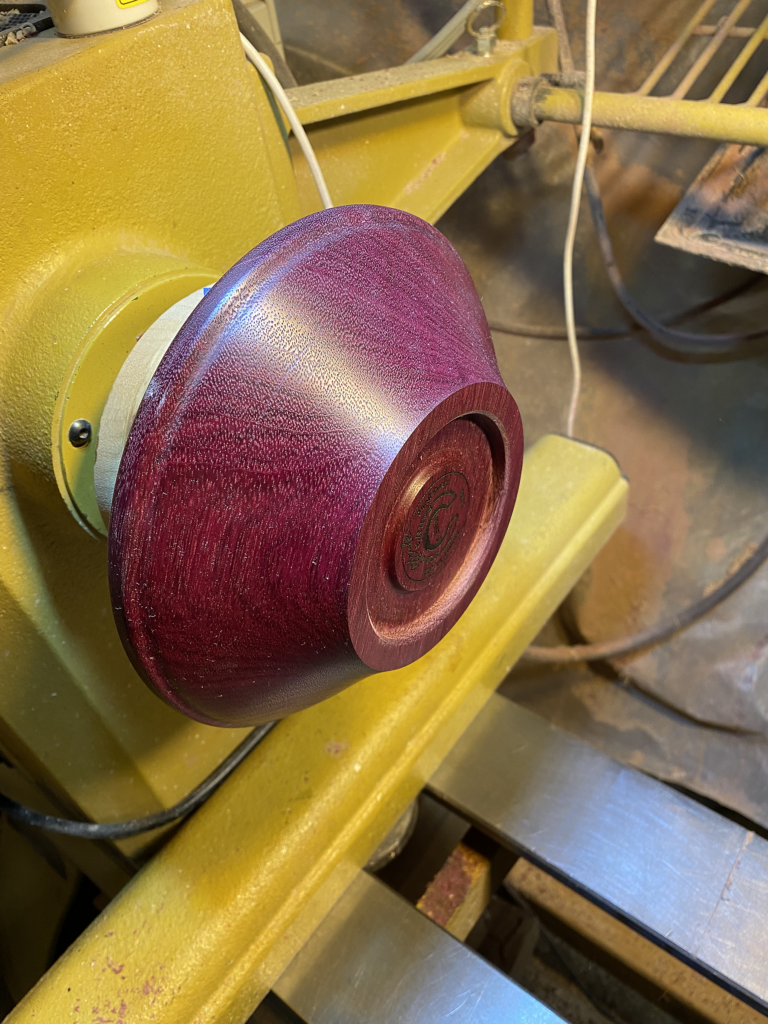
Clean up the mortise/tenon taking light cuts — no sense tempting fate, though you may be surprised when it comes to getting the bowl off the wasteblock. To do so, ensuring you’ve moved the tail stock way back (to avoid elbow impact), grab ahold of the rim of the bowl, at the top, and pull it toward the tailstock. It should peel right off, leaving tape where you put it, and a glue residue on the wasteblock (Figure 12). Usually, you won’t even have to replace the tape, as the glue will typically simply peel off with well-placed thumbnail pursuasion.